
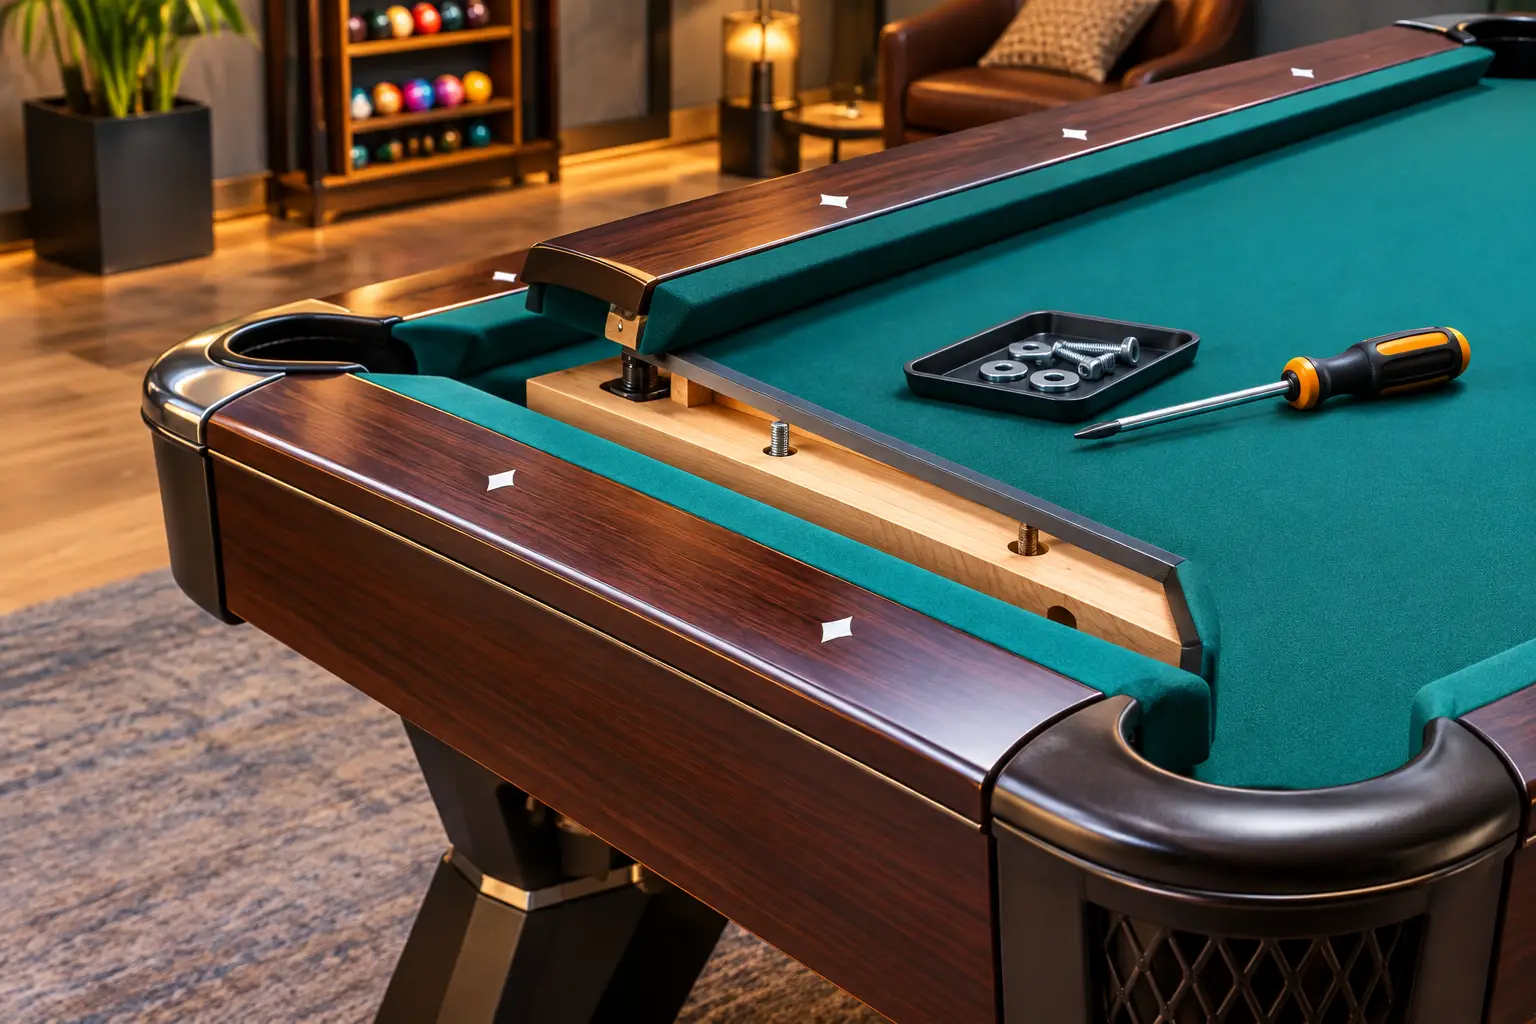
A rail that shifts when you lean on it is more than an annoyance. Before you tighten loose pool table rails, you need to identify what is actually moving: the rail assembly, the cushion, the apron, the frame, or the hardware beneath the slate. Tightening the wrong fastener can hide a larger problem, distort pocket alignment, or put unnecessary pressure on an older table.
A properly installed rail system should feel solid all the way around the table. It should not rattle, lift at the pocket, separate from the slate, or change position when a ball contacts the cushion. More importantly, it should play consistently. A loose rail can turn a clean bank shot into an unpredictable one.
Why pool table rails come loose
Most pool table rails are secured with rail bolts that pass through the underside of the table and pull the rail assembly against the slate. Over time, normal use, seasonal humidity changes, a past move, or an incomplete assembly can allow those bolts to back off. On some tables, the wood surrounding the bolt receiver has also weakened, which means tightening alone may not hold for long.
A move is one of the most common causes. Pool tables are not designed to be lifted, tilted, or transported as one assembled piece. When a table is moved incorrectly, the rails can be stressed, the frame can twist, and hardware can loosen without being obvious at first. A table may look fine after the move but develop a loose pocket-facing rail or a gap along the slate weeks later.
Age also matters. Older tables may have stripped threads, deteriorated wood blocks, cracked rail liners, or hardware that no longer clamps the assembly evenly. If the cushions have hardened or separated from the rail, a loose feel may be coming from the rubber and wood construction rather than the rail bolts themselves.
Check what is loose before reaching for a wrench
Start with a simple hands-on inspection. Press gently along each rail, especially near the pockets and at the middle of each side. Compare the movement from one rail to another. A small amount of flex in a wood rail is different from a rail assembly that rocks against the slate or visibly opens a gap at the edge.
Look under the table with good lighting. Depending on the table design, you may see bolt heads, nuts, washers, or threaded rail inserts beneath the slate. Do not assume every visible screw is meant to tighten the rails. Some screws secure the apron or decorative trim, while others hold pocket irons, ball return components, or frame pieces in place.
You should also check for related symptoms. Balls that rebound softly, dead spots along a cushion, a pocket that looks pulled out of square, or cloth bunching near the rail can all point to a repair beyond a simple adjustment. If the rail is loose at only one pocket, inspect that area closely for damaged wood or a loosened pocket iron.
How to tighten loose pool table rails correctly
If the table is structurally sound and the correct rail bolts are accessible, tightening should be gradual and even. The goal is to seat the rails firmly against the slate without crushing wood components, stripping threads, or pulling the rail out of alignment.
First, remove anything stored beneath the table and make sure the table is stable. If the table is on carpet, avoid putting side pressure on the rails while you work. A table that is not level can shift slightly as hardware is tightened, making it harder to judge whether the rail is truly seated.
Use the correct socket or wrench for the rail hardware. Turn each loose bolt in small increments rather than fully tightening one bolt before touching the others. On a full rail, work from the center outward or alternate between bolts so pressure is distributed evenly. This matters most on three-piece slate tables, where uneven rail pressure can affect the relationship between the rail, cloth, and slate edge.
Stop as soon as the rail is secure and no longer moves. A rail bolt should be snug, not forced. If it keeps turning without becoming tight, the threads may be stripped or the receiving wood may be damaged. If the rail will not pull down flush against the slate, do not keep tightening. There may be a warped component, debris under the rail, a misaligned bolt, or a frame issue that needs correction.
After tightening, roll several balls slowly along the cushion line and toward each pocket. Watch for a consistent rebound and make sure the pocket openings look even. This is not a substitute for a professional playability check, but it can reveal an obvious rail alignment problem before it becomes more frustrating.
Do not confuse loose rails with bad cushions
A rail can feel solid and still play poorly. The rubber cushions beneath the cloth are responsible for the ball’s rebound, and they eventually lose elasticity. Hardened rubber may make a shot rebound short, while loose or failing cushion glue can create a dead section that feels like the rail itself is moving.
This distinction matters because tightening rail bolts will not restore worn cushion rubber. In fact, over-tightening hardware in an attempt to improve rebound can create new problems without changing how the table plays. When cushions are old, replacement is often the right repair, particularly if the cloth is also worn or being upgraded.
A trained technician can inspect the rail construction, test the cushion response, and determine whether the rails need tightening, rebuilding, recushioning, or refelting. Handling those services together can be more efficient because rail removal usually affects the cloth and pocket facings.
When a loose rail is a professional repair
Some rail issues are appropriate for a careful homeowner to inspect. Others should be handled by a pool table specialist, especially when the table has slate, sentimental value, antique construction, or signs of structural damage.
Professional service is the safer choice when a bolt is stripped, a rail will not sit flush, the wood is cracked, the slate edge is chipped, or the table was recently moved and now plays unevenly. It is also worth calling for help if the cloth must be removed to access the issue. Cloth can be stretched, cut, or marked easily, and reinstalling it correctly requires even tension across the playing surface.
Precision leveling should be part of the repair conversation as well. A rail may seem loose because the table has settled, one leg is unsupported, or the frame is under stress. Tightening a rail on a table that is out of level can make the assembly feel better temporarily while leaving the underlying cause untouched.
For Hudson Valley homeowners who want the repair handled with the same care as a full setup, TableSmith Installations can inspect the rails, frame, slate, cushions, and playing surface as one system. That approach protects both the table’s structure and the way it plays after the work is complete.
Prevent the problem from returning
Once the rails are secure, treat the table as precision equipment rather than household furniture. Do not sit on the rails, use them as a step, or drag the table across the floor. Keep the room reasonably stable in temperature and humidity, particularly if the table has solid wood rails or an older cabinet.
If you are renovating, replacing flooring, or relocating the table to another room, schedule a proper disassembly and reassembly instead of trying to move it in one piece. Slate can crack, frames can rack, and rail hardware can loosen under forces that are not obvious during a quick move.
A solid rail should make every shot feel trustworthy. If yours still shifts, rattles, or plays inconsistently after a careful check, stop tightening and have the table evaluated before a minor adjustment becomes a damaged rail, slate, or frame repair.