
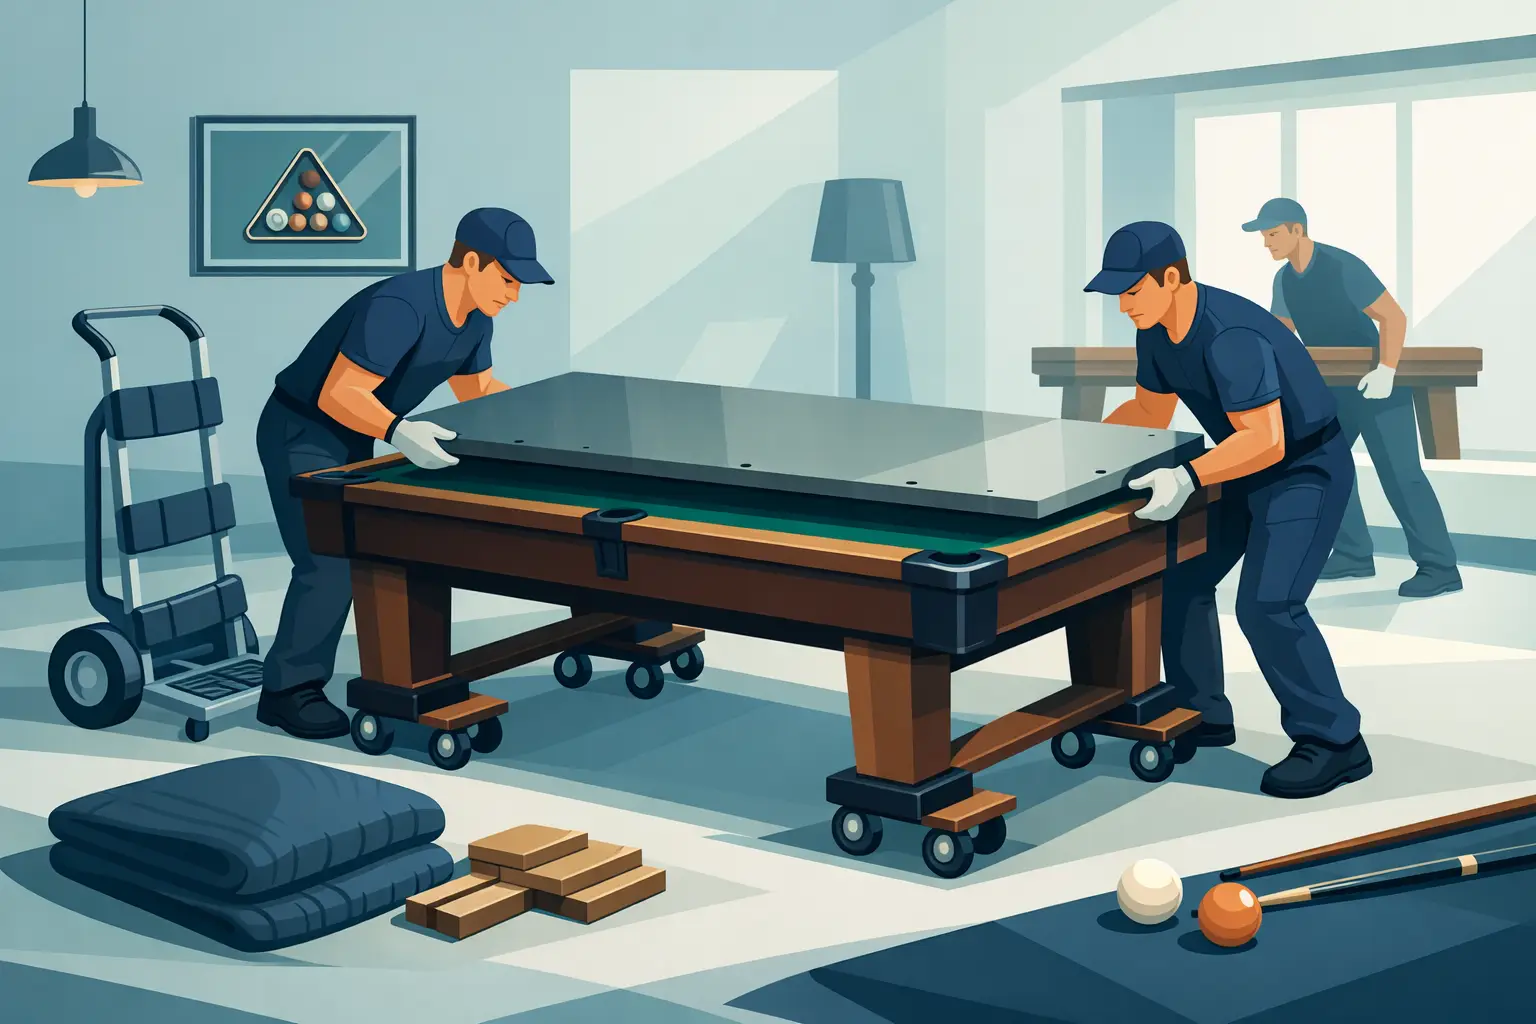
A slate pool table is not a piece of furniture you slide across the room, strap into a truck, and rebuild by eye. Knowing how to move a slate pool table starts with understanding what makes it play correctly: a solid frame, properly supported slate, tight rails, stretched cloth, and precise leveling. One shortcut can turn a good-playing table into one with chipped slate, loose rail bolts, torn cloth, or a roll that drifts toward one corner.
For a short move within the same room or a full relocation across the Hudson Valley, the goal is the same. Protect the table during teardown and transport, then restore it so it plays the way it should in its new location.
Why Slate Tables Need a Different Moving Process
Most quality home pool tables use either a one-piece or three-piece slate bed. Slate is heavy, brittle along its edges, and far less forgiving than the wood cabinet around it. A standard three-piece table may have individual slate sections weighing 150 to 250 pounds each. A one-piece slate can weigh considerably more and is often difficult to maneuver through stairs, narrow halls, or tight turns.
The weight is only part of the problem. Slate must rest evenly on the cabinet and be leveled as a complete playing surface. If a table is carried assembled, its frame can flex under the load. That movement may crack a slate seam, damage the cabinet joints, or shift the slate enough to affect play. Even if the table looks fine after the move, a ball that rolls off line tells a different story.
This is why professional pool table relocation services normally begin with disassembly. The table is broken down in a deliberate order, packed for transport, and assembled from the frame up at the destination.
How to Move a Slate Pool Table Step by Step
The exact process depends on the table’s make, age, construction, and access at both homes. Antique tables, oversized tables, and commercial-style one-piece slate tables can require additional planning. Still, the core sequence is consistent.
Start with the route, not the table
Before removing a rail bolt, measure doorways, stairwells, landings, hallways, and the final room. Check for low ceilings, sharp turns, loose handrails, wet ground, and steps between the truck and the entrance. A move that looks simple in an empty room can become difficult once a 250-pound slate section reaches a narrow staircase.
The destination matters just as much. Choose the table location before transport so the crew can assemble it in the correct spot. Leave enough room around all sides for a full cue stroke. If the room is still being renovated, wait until flooring, painting, and major construction are complete whenever possible. Dust, paint overspray, and workers moving materials around a newly installed table create unnecessary risk.
Remove the rails and pockets carefully
The rails are usually secured from beneath the table with bolts. Each rail assembly should be removed without forcing or twisting it, then protected from scratches and damage to the cushion rubber. On many tables, the pockets come off with the rail system. Older tables may have leather drop pockets, decorative irons, or hardware that needs special attention.
Keep all fasteners organized and labeled. Rail bolts can vary in length, and using the wrong hardware during reassembly can damage the rail or leave it loose. This detail is easy to overlook during a do-it-yourself move, especially when parts are collected in one box without a record of where they came from.
Decide whether the existing cloth can stay
The cloth is typically removed before the slate comes apart. In some cases, carefully removed cloth can be reused, particularly if it is newer and has no stains, tears, or excessive wear. But reused cloth may not stretch as cleanly as new material after removal, and staple holes or adhesive residue can complicate the job.
A move is often the practical time to refelt a table. The labor for accessing the bed is already part of the relocation, and fresh cloth gives the finished setup a clean appearance and consistent playing surface. It depends on the condition of the cloth and whether the owner wants a standard replacement or a performance-oriented upgrade.
Lift and pack the slate the right way
Once the cloth is removed, the slate screws can be accessed and taken out. On a three-piece table, each slate section is lifted straight up with adequate help, carried on edge when appropriate, and supported so corners cannot strike the floor, doorway, or truck wall.
Never drag slate across the frame or floor. Do not use the slate as a work surface for tools, hardware, or other parts. Corners and edges are especially vulnerable, and a small chip can become a bigger leveling and cosmetic problem later.
The slate should be wrapped and secured independently during transport. It should not ride loose against rails, legs, or moving boxes. The frame, legs, rails, and hardware also need padding and protection because cosmetic damage to wood finishes, veneers, and decorative details is difficult to reverse.
Disassemble the cabinet and load by component
After the slate is removed, the frame and legs can be disassembled as needed. Some tables have bolted legs; others use cabinet construction that requires a different approach. A qualified technician recognizes how the table was built before applying force. Forcing an unfamiliar connection can strip hardware, split wood, or damage an older structural component.
Load the truck so the heaviest components are stable and protected. Slate should be secured against shifting. Rails should not be stacked where their cushions can become compressed or their finish can be gouged. Hardware should travel with the table, not disappear into a general moving box.
Reassembly Is Where Table Performance Is Won or Lost
Getting the table into the new room is only half the job. A slate table can be completely intact and still play poorly if it is assembled without precision.
The cabinet must be placed, squared, and stabilized before the slate goes back on. Then the slate sections are set, aligned at the seams, and adjusted using precision levels. The table is leveled across its length, width, and diagonals. Professionals do not rely on a quick bubble-level check in one area. The objective is a true surface that supports consistent roll across the entire bed.
On a three-piece table, the seams are filled and finished so they do not telegraph through the cloth. The slate is then covered with properly installed cloth, stretched evenly to avoid wrinkles, loose spots, or uneven speed. Finally, the rails are installed and tightened evenly. Rail alignment affects pocket openings, cushion response, and the overall feel of the game.
A good setup is tested. Balls should roll true, rails should respond consistently, and the table should feel solid rather than creaking or shifting. This is the difference between a table that merely looks assembled and one that is ready for play.
When a DIY Move May Cost More Than Professional Help
Some homeowners have the tools, labor, and experience to handle a basic table. But the risks increase quickly when the table has slate, stairs, antique finishes, tight access, or a new cloth installation. Saving money on the move can become expensive if a slate piece breaks, a rail is damaged, or the table needs to be corrected after reassembly.
There is also the physical risk. Slate is awkward, dense, and unforgiving. A team strong enough to carry it still needs a coordinated plan, proper lifting technique, protection materials, and experience navigating obstacles. General movers may be excellent at household relocation, but pool table disassembly and precision leveling are specialized work.
At TableSmith Installations, Brad Staskowicz handles relocation as a complete craftsmanship service: careful teardown, protected transport, reassembly, leveling, and the option to address cloth, cushions, or repairs while the table is accessible. That single point of accountability matters when you want the table to play right after the move, not become another project waiting in the garage.
A Few Smart Steps Before Moving Day
Clear a wide path from the table to the exit and remove wall art, lamps, rugs that can slip, and fragile furniture along the route. Photograph the table before work begins, especially if it has existing cosmetic wear or distinctive hardware. Keep pets and children away from the work area, and make sure the destination room is accessible and ready.
If the table has a history of uneven play, worn cushions, loose pockets, or aging cloth, mention it before the move. Relocation creates the best access for repairs that are difficult to perform once the table is fully assembled. Addressing those issues at the right time can save a second service appointment and give you a better-playing table from day one.
A slate pool table is built to last for decades, but only if its move respects how it was built. Treat the relocation as part transport and part precision installation, and your first rack in the new room can feel exactly as it should.