
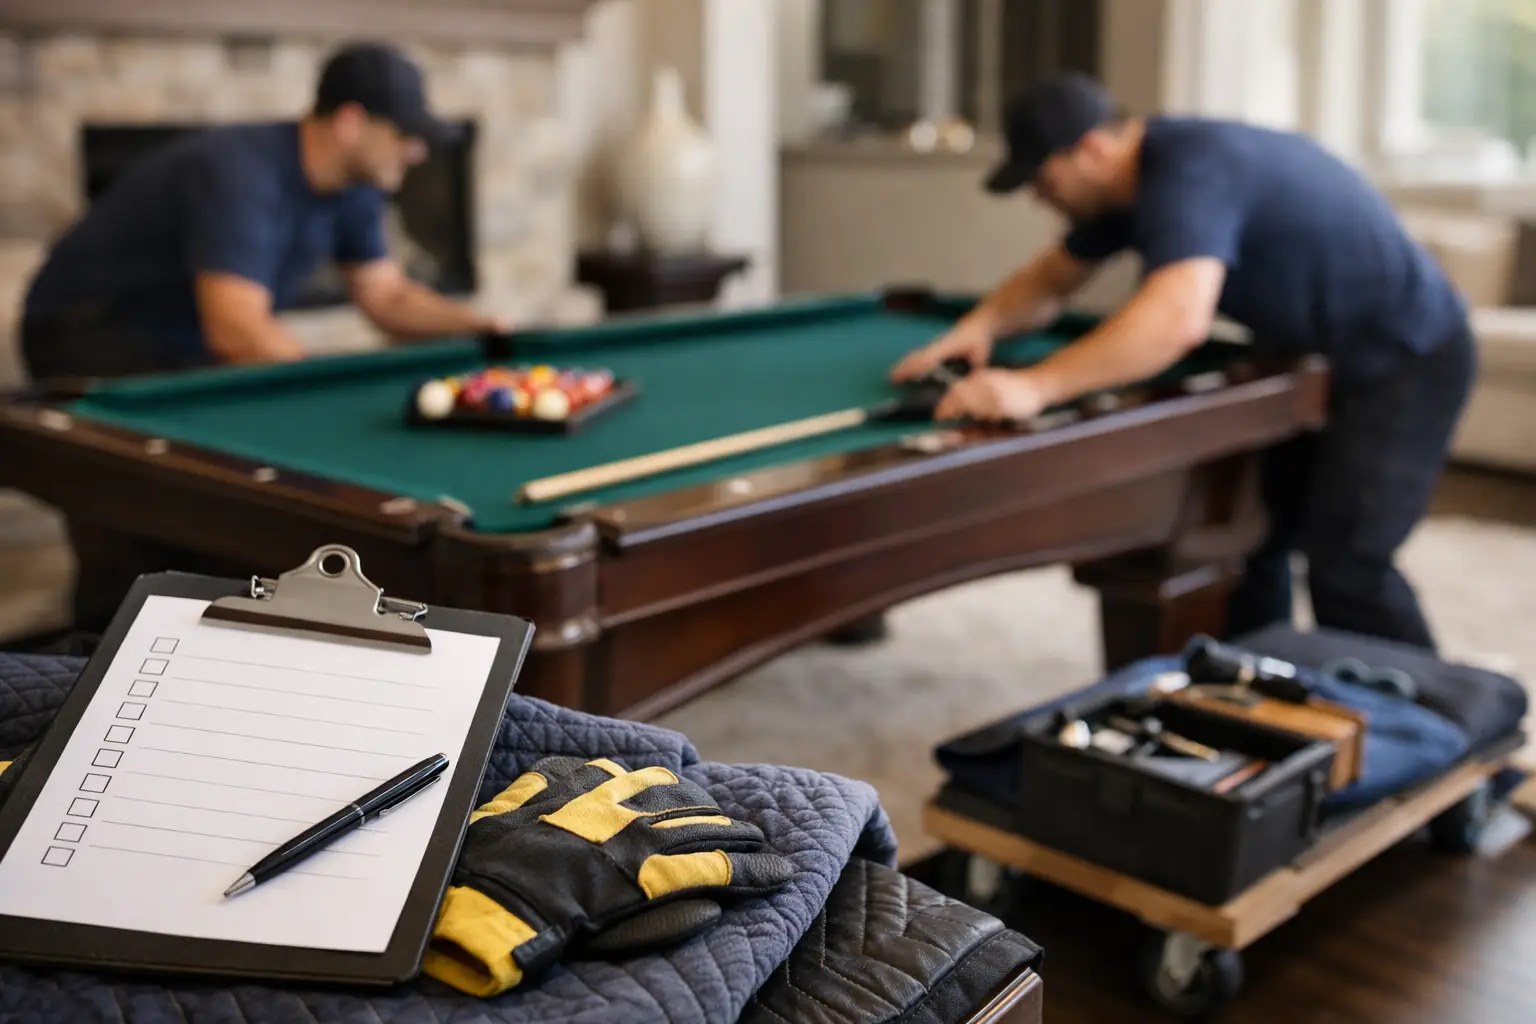
A pool table is not a piece of furniture you can safely slide across the floor, wrap in blankets, and hope for the best. A proper pool table moving checklist starts with one fact: the parts that make a table play well - slate, frame, rails, cushions, cloth, and hardware - must be protected individually. The goal is not simply getting the table into a new room. It is getting it reassembled so balls roll true, rails respond properly, and the table feels right from the first rack.
Start the Pool Table Moving Checklist With an Inspection
Before anything is removed, inspect the table where it stands. Take clear photos of the full table, the underside, each rail, the legs, pockets, and any existing scratches or worn areas. This gives you a record of the condition before transport and helps identify issues that may need attention during reassembly.
Check whether the table has one-piece slate or three-piece slate. Most residential tables use three pieces, but assumptions cause problems. Slate is heavy, brittle at the edges, and never meant to be carried while still attached to the cabinet. A slate table should be professionally disassembled before relocation.
Also note the table's construction. Solid hardwood furniture-style tables, coin-operated tables, and lighter recreational models come apart differently. Some have leg bolts hidden behind trim. Others have cross members, slate liners, or rail systems that require a particular removal sequence. Keeping hardware organized and matching each part to its original location prevents rushed guesswork later.
Measure Both Rooms and Every Route Between Them
A table may fit beautifully in its new game room and still be impossible to bring inside without planning. Measure the new room, doorways, stairwells, hallways, landings, elevators, and turns. Measure ceiling height if the table needs to move through a tight stairwell or be tilted around an obstruction.
Room size matters for play as much as installation. The table itself is only part of the footprint. Players need cue clearance around every side. A standard 58-inch cue generally needs about five feet of open space from the edge of the playing surface, though shorter cues can help in a limited area. A table that technically fits but leaves one corner unplayable can become a daily frustration.
Clear the route before moving day. Remove wall art, breakable furniture, rugs that shift underfoot, and anything that narrows a passage. Protect finished floors, corners, and door frames. In older Hudson Valley homes especially, narrow stairs and uneven entries deserve an early look rather than a surprise when slate is waiting at the bottom of the steps.
Prepare the Table for Professional Disassembly
Remove all loose accessories from the table and nearby furniture. That includes balls, rack, cue sticks, bridges, chalk, table lights, scoreboards, and storage benches. Pack balls separately in a padded container. Do not leave them in pockets during transport, where their weight can strain leather or plastic pocket components.
The rails must come off before the slate can be handled. Depending on the table, the cloth may be carefully removed for reuse, replaced with new cloth, or left in place until the slate sections are lifted. Reusing existing cloth can make sense when it is relatively new, clean, and free of tears. However, a move is often the best time to refelt, especially if the cloth is faded, stretched, stained, or already showing slow spots.
This is also a smart time to inspect cushion rubber. Hardened or detached cushions may look acceptable from a distance but produce dead banks and inconsistent rebound. Replacing rubber during a move avoids taking the rails apart again later.
Keep Hardware With Its Exact Components
Pool tables contain more hardware than most owners expect: rail bolts, slate screws, leg bolts, shims, pocket fasteners, aprons, brackets, and trim pieces. Each type belongs in a labeled bag or container. Do not toss everything into one box.
The same care applies to rails. Mark their original positions discreetly so the head rail, foot rail, and side rails return where they belong. Rail alignment affects pocket openings, bolt fit, and how cleanly the cloth is stretched during final assembly.
Protect Slate, Rails, and the Cabinet During Transport
Slate needs edge protection, not just a moving blanket draped over the face. Each section should be wrapped, padded, supported upright when appropriate, and secured so it cannot flex, fall, or rub against another hard surface. Never stack heavy items on slate. Even a small chip near a seam can affect the finished playing surface or create extra repair work.
Rails need their own protection. Cushion noses can become misshapen if rails are compressed under weight, and finished wood can be easily scratched at corners. Pocket castings, leather pockets, and decorative trim also need padding rather than being left exposed in a truck.
The cabinet and legs should travel as separate protected pieces. Dragging a fully assembled table, lifting it by the rails, or turning the cabinet on its side with slate installed can twist the frame and damage joints. A table may survive that kind of move visually, yet develop leveling and alignment issues once it is set up again.
A reliable transport plan uses enough trained hands, proper dollies, straps, padding, and a vehicle that allows the parts to be secured. The cheapest-looking option is not always the least expensive when damaged slate, torn cloth, or a compromised frame enters the picture.
Plan for More Than Reassembly at the New Location
Once the components arrive, the work is not finished. The cabinet must be placed in its final position before slate is installed. Moving a completed slate table later is not a simple adjustment, so take time to confirm wall clearance, lighting placement, cue access, and the direction the table should face.
The frame needs to be structurally sound and level enough to receive the slate. Then the slate sections are positioned, aligned at the seams, secured, and precision leveled. This is where professional workmanship makes the biggest difference in play. A carpenter's level alone is not enough for a billiard table. Fine adjustments across the full playing surface affect whether a slow-rolling ball holds its line.
After leveling, seams are filled and prepared, cloth is installed and stretched evenly, and rails are tightened in sequence. Rail bolts should be firm and properly seated, not overtightened in a way that can stress components. Pocket openings and rail alignment should be checked before the table is considered ready.
Decide What to Upgrade While the Table Is Apart
Relocation creates a practical opportunity for repairs and customization because the table is already disassembled. New cloth can refresh the entire room, and there are color and speed options for casual family play or a faster, more responsive setup. New pockets, cushion rubber, leg repairs, veneer touch-ups, and replacement sights can also make sense depending on the age and condition of the table.
Not every table needs restoration. Sometimes the right choice is careful disassembly, secure transport, new cloth, and precision leveling. Other times, worn rubber or a damaged frame needs attention before the table can play as intended. The useful question is not whether every part can be replaced. It is which work protects the table and improves the way you use it.
Final Checks Before the First Game
Before putting balls back on the table, inspect the surface under good lighting. Look for loose cloth, raised seams, uneven rail gaps, exposed staples, or pocket hardware that needs adjustment. Roll a ball slowly in several directions, including across each slate seam and along the long rails. A proper setup should produce consistent travel without obvious pull or wobble.
Then check the rails with a few controlled bank shots. The rebound should feel consistent from rail to rail. If the table has been refelted, give the cloth time to settle and avoid placing drinks, heavy décor, or sharp objects on the playing surface.
For owners who want the job handled from teardown through final leveling, TableSmith Installations provides professional pool table relocation services with the same attention given to installation, repair, refelting, and restoration. A careful move protects more than the appearance of your table. It protects the games, gatherings, and years of play you bought it for.